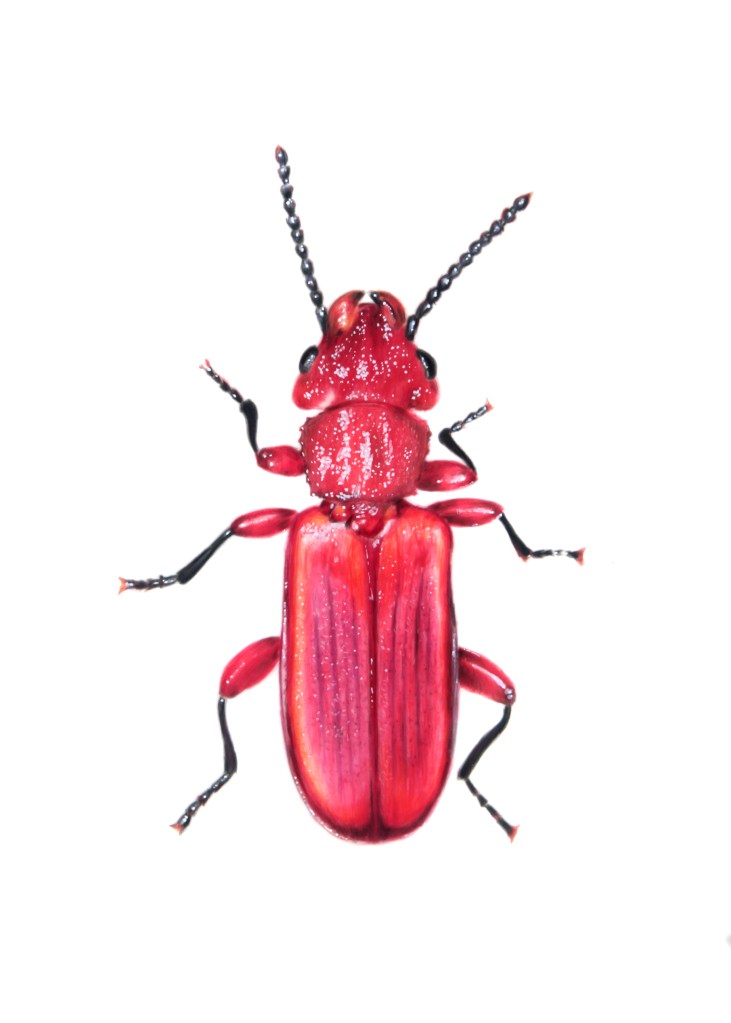
For the last few months I’ve been experimenting with a new type of paper called drafting film. Specifically I’ve been using Dura-Lar Grafix paper, which is a little different from true drafting film (from what I understand), but for simplicity’s sake I’ll just refer to it as drafting film. I wanted to write a post about this paper, because I’m going to be transitioning to using this paper for my coloured pencil portraits, and wanted to give you some information about it.
Grafix paper is VERY different from the paper I typically work on. The paper I’ve been using for coloured pencil portraits is Strathmore Mixed Media vellum paper, which has a fine tooth (tooth refers to how ‘bumpy’ or ‘ridged’ a paper is). This tooth grips the pigment in the pencil, allowing lots of layers and rich, deep colours on the paper.
Drafting film doesn’t have a lot of tooth — it is very, very smooth. This means it can’t take a lot of layers, and requires a much more delicate touch than my regular paper. So why would I use drafting film instead of my regular paper? There’s a few reasons.
The first is that the number of layers needed to get a crisp, solid drawing with none of the tooth showing through on my mixed media paper is quite a lot. I have to press fairly hard to blend the colours and this eats through my pencils like crazy. It’s also not particularly good for my wrist, which is not the strongest to begin with. So using a paper that takes a more delicate approach will save my pencils, but also my poor, weak arms.
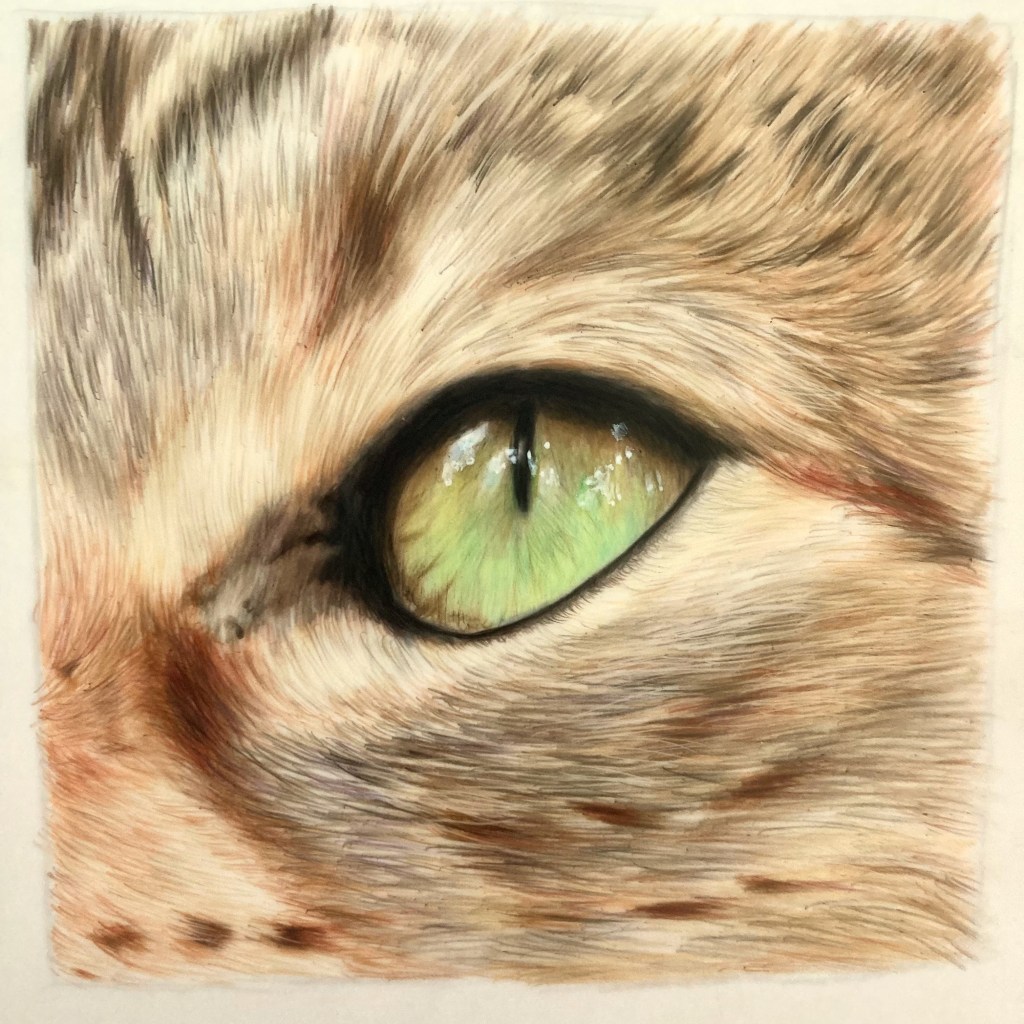
Another reason I prefer drafting film is that I can easily get very clear, crisp lines on this paper. I find my work on drafting film is not only more delicate and detailed, but has a bit of a softer look than my portraits on mixed media paper, and I really like this look (hopefully you do too!).
The final reason I’m really enjoying working on drafting film is that it’s much easier to erase! I’m able to completely erase coloured pencil on drafting film, which is much, much more forgiving than mixed media paper. It’s a whole lot more relaxing drawing when you know you can fix any mistakes you make.
A final note about drafting film — it is translucent. So if you order a coloured pencil portrait from me, it will look VERY different if you hold up the paper to the light or put it on a different coloured background. But don’t worry, once you’re piece is mounted and framed the backing will show through and look amazing. This also means that you can draw on both sides of the paper, and the lines will show through. I’ve found that when I want really dark, deeper colours, drawing on the the back of the paper helps them stand out. So your portrait may have some colour on the back, which is normal and part of the portrait!
Hopefully this post was a useful introduction to drafting film and why I’m going to start to using it more and more going forward. If you’re interested in a portrait or are a returning client and have any concerns about having your portrait on drafting film, please do let me know! I’m happy to answer any questions you may have.
